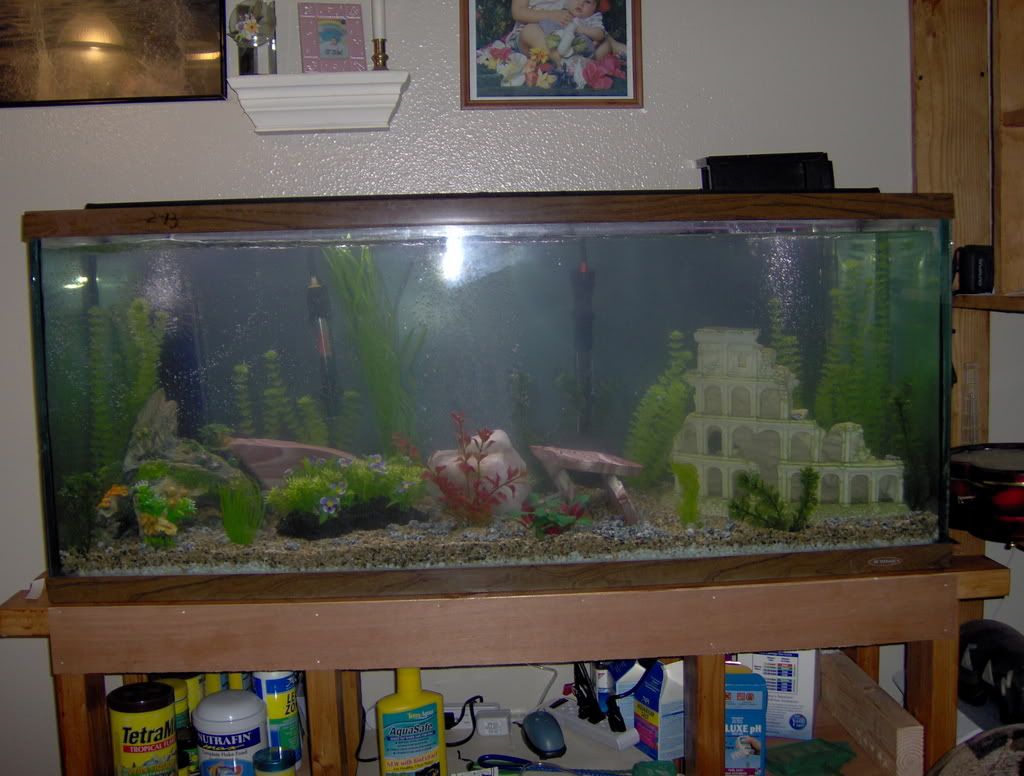
48X13X20; are the measurments
done with the help of my husband and brother
What i bought:
• 3 2x4x10
• 4 2x4x8
• 16 corner angles
• 2" wood screws (DON'T use nails)
• 1/2" wood screws (for the angles)
• 1 can of wood paint
• 1 2" brush
What else will i need:
• circular saw
• drill
• sander
• pencil
• meassuretape
• the triangle to draw the lines (no idea what it's called right now)
(Please click all pictures to enlarge for a better view)

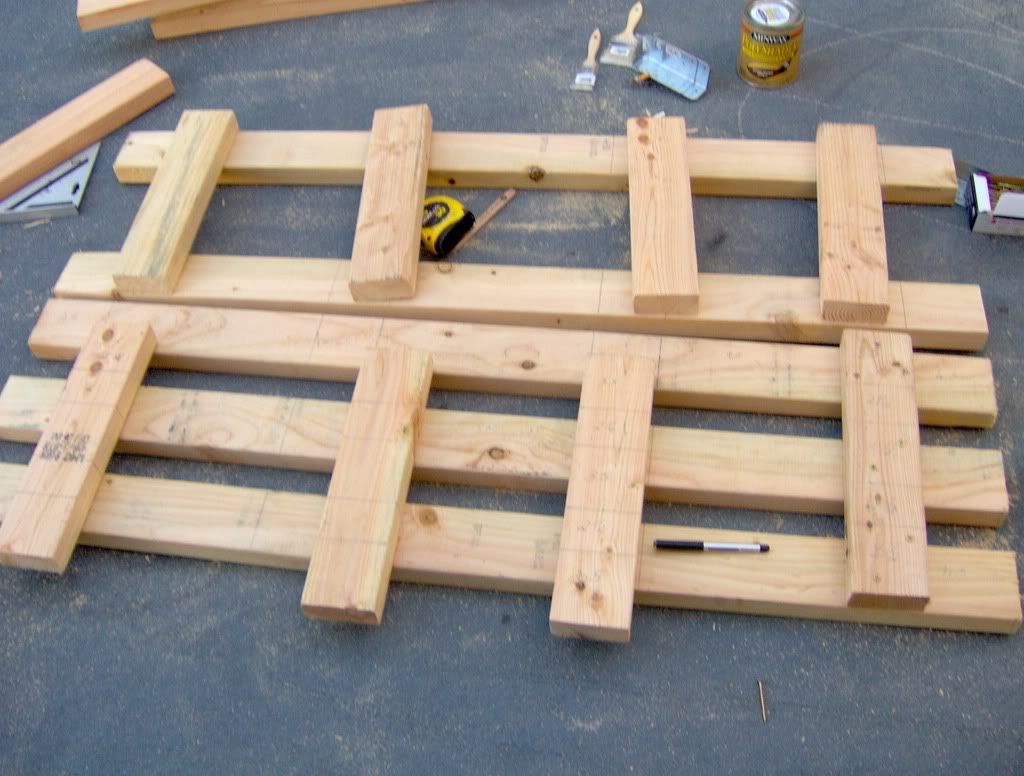
already precut:
• 5 pieces of 2x4x54
• 8 pieces of 2x4x34
• 8 pieces of 2x4x15
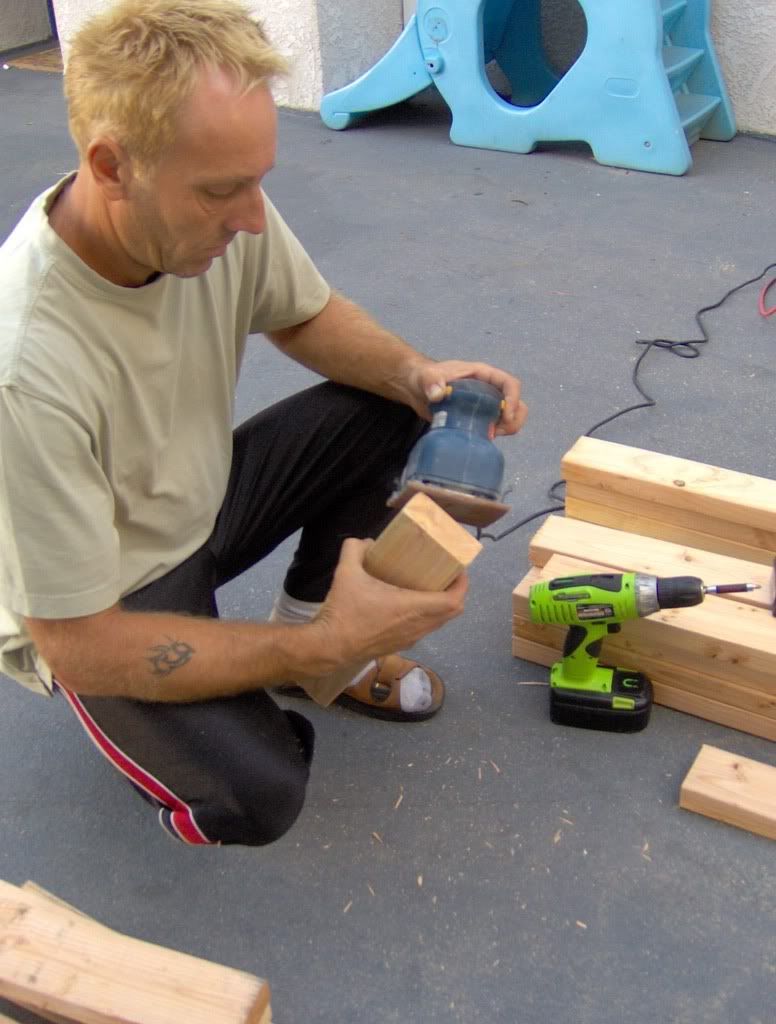
my husband sanding the rough edges
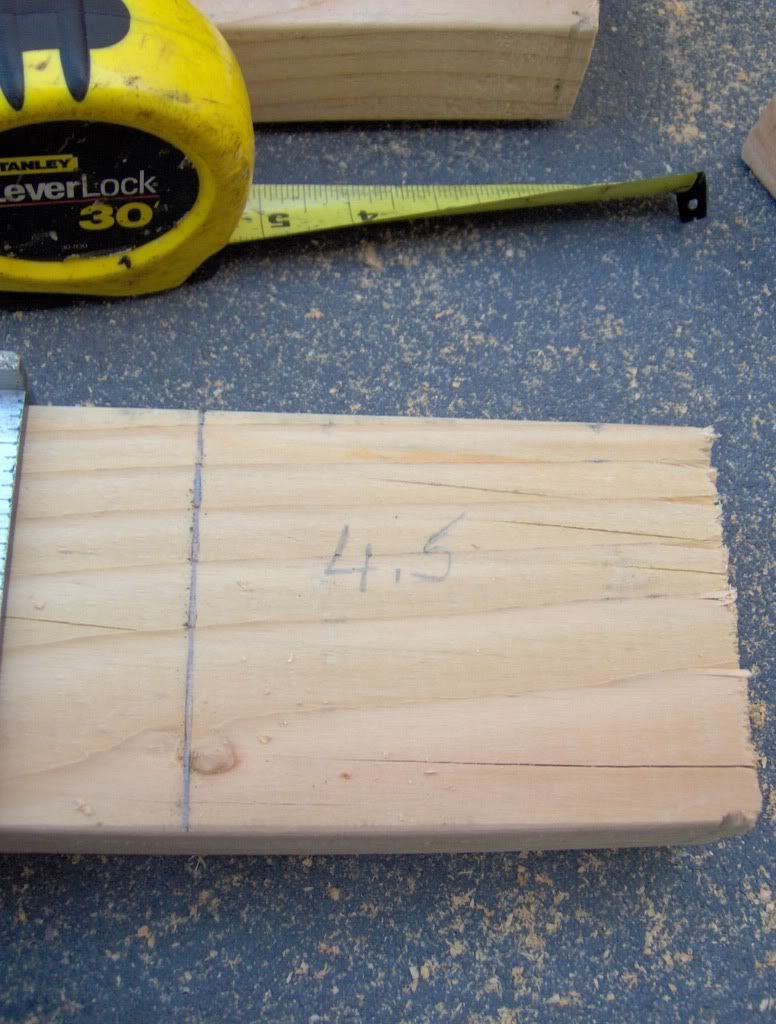
measuring from the edge in on where the cross piece goes

measuring exactly the difference on how far apart the piece has to come
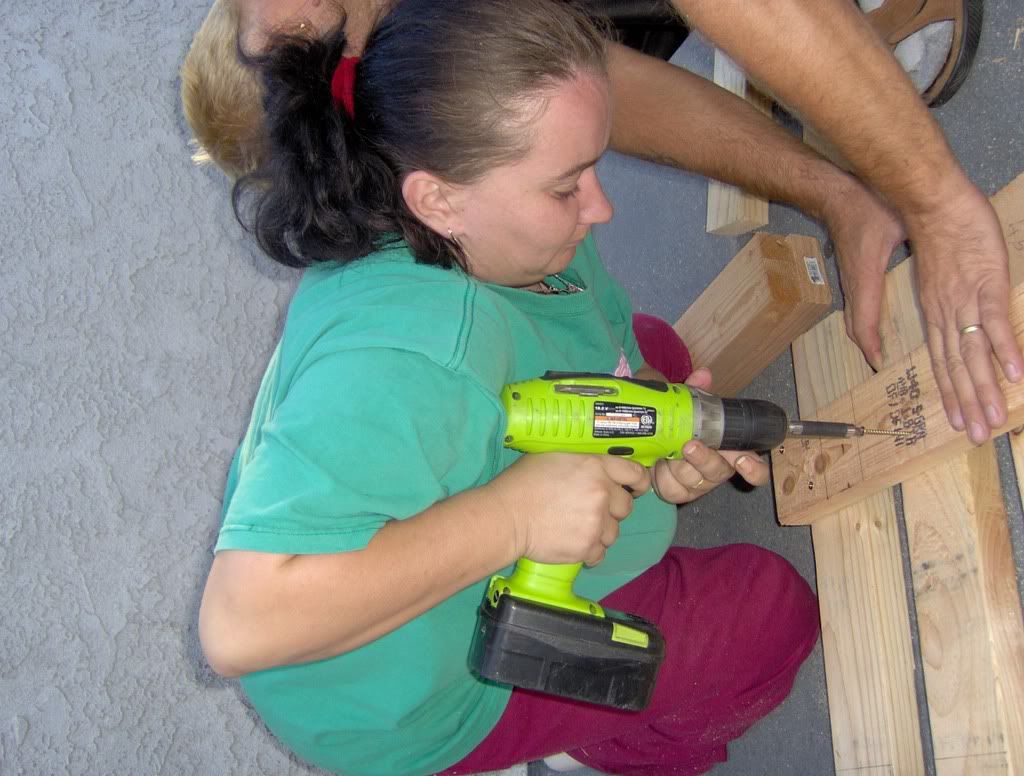
screwing on the pieces to the top first, which has 3 long pieces across

more screwing
an idea how it should look on the top, you see only 2 long pieces for the bottom

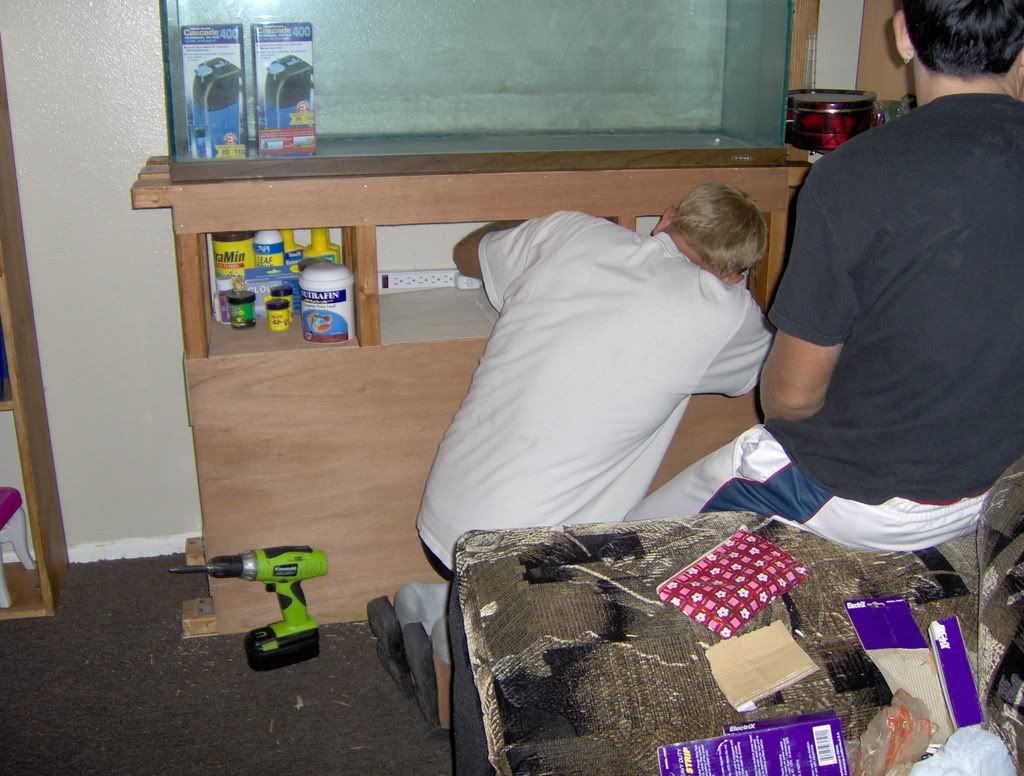
finally getting to the vertical pieces, which will be screwed on with the 2" screws first and then angles will be added with additional 1/2" screws
connecting the bottom and the top piece
final screws

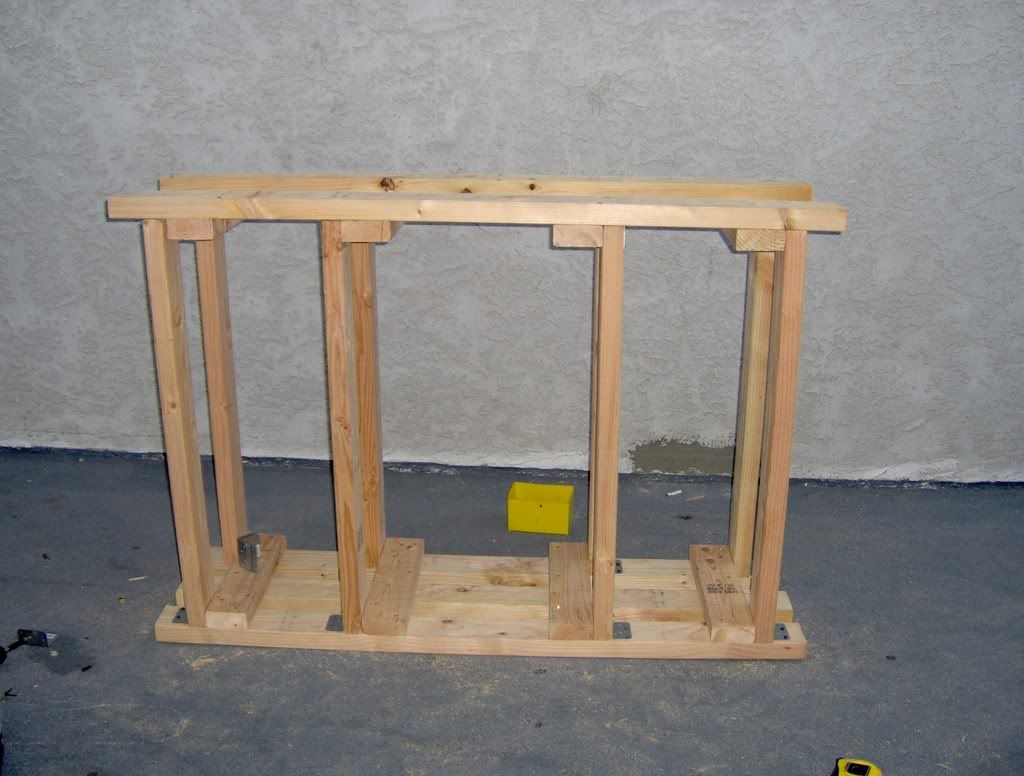
hooray, the stand is screwed together
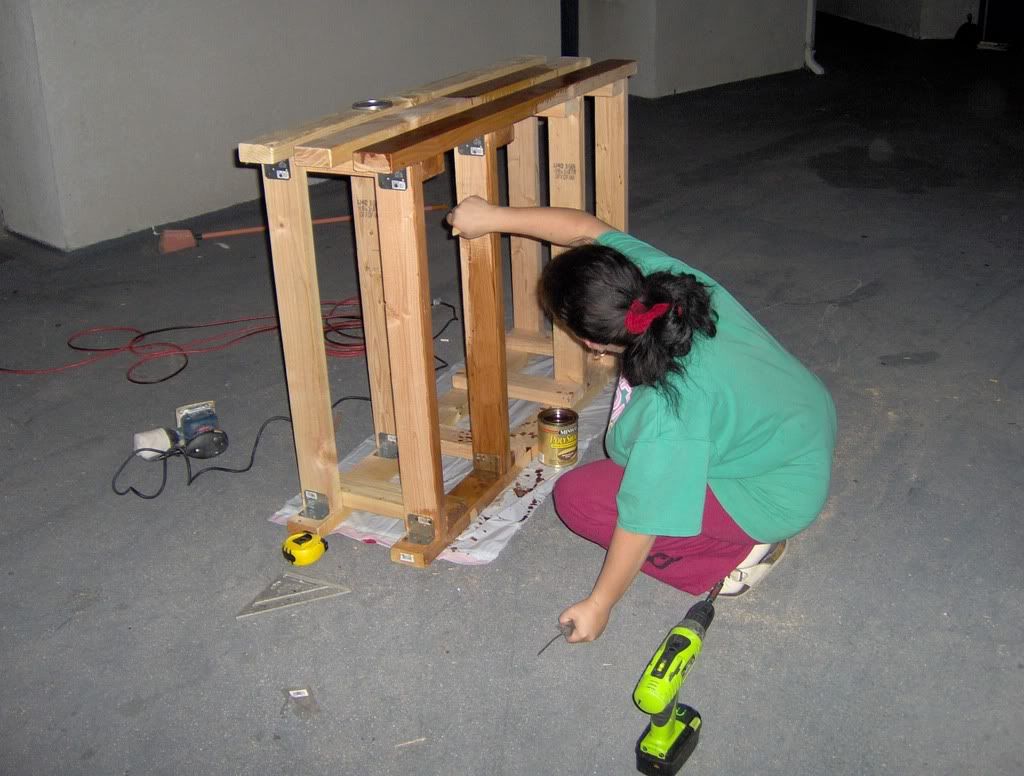
now painting it, to match the rest of my furniture in the living room
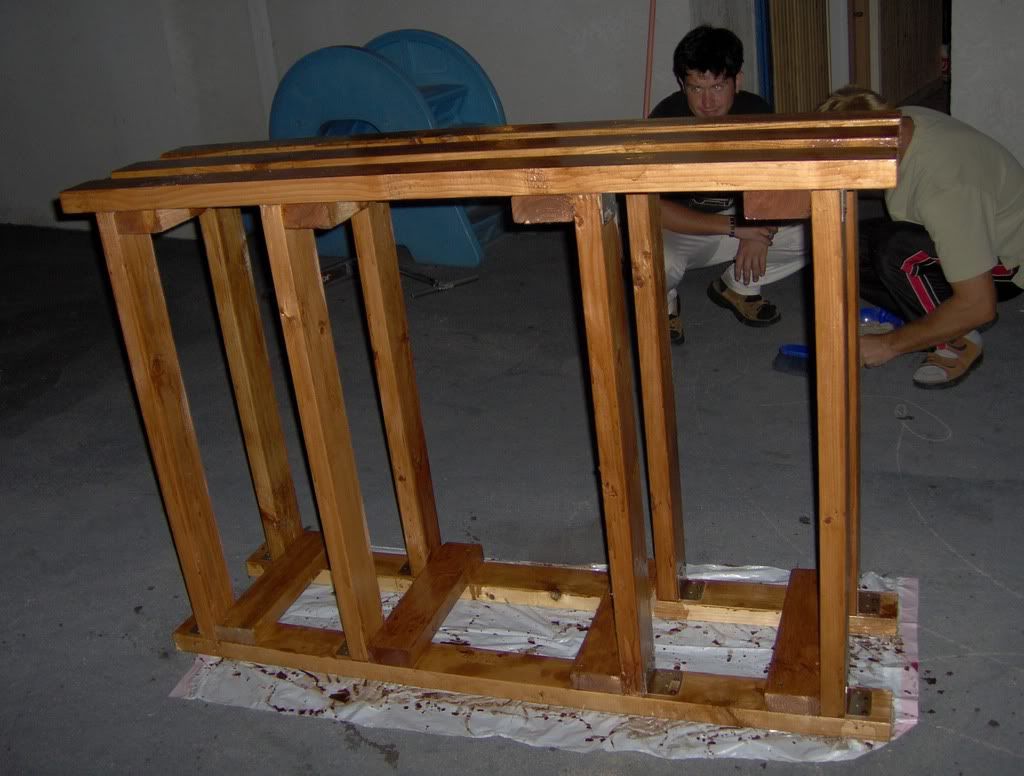
done painting, and ready to go into the house
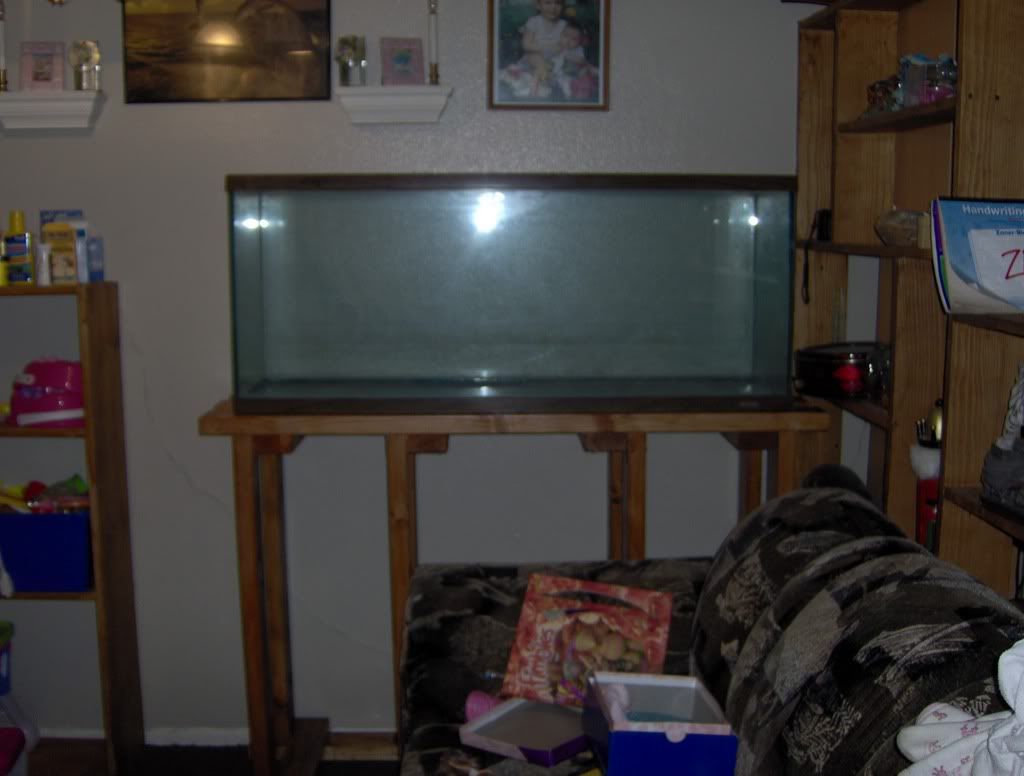 the stand in my living room and my tank put onto it. It looks awesome, I love it, and it matches my shelving on the right and the left :)
It took me about an hour to build, it's fun and easy it's heavy, but well worth to build yourself I only spend 60 bucks on materials :), which saved me a bunch of money instead of buying a stand I will add later on a shelf on the left, add a door and cover the right side with siding :)
What else I bought:
2 sheets of 1/16x24x48 cardboard
1 pack of 1/2" nails
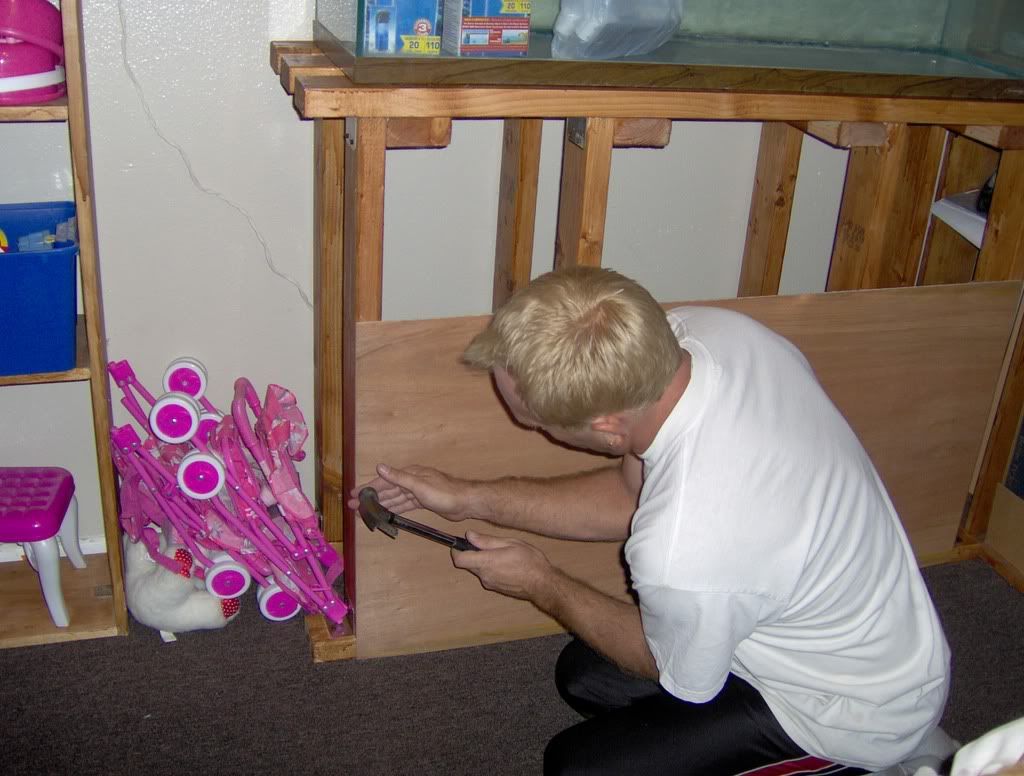
covered the front to about the middle which is 24" high
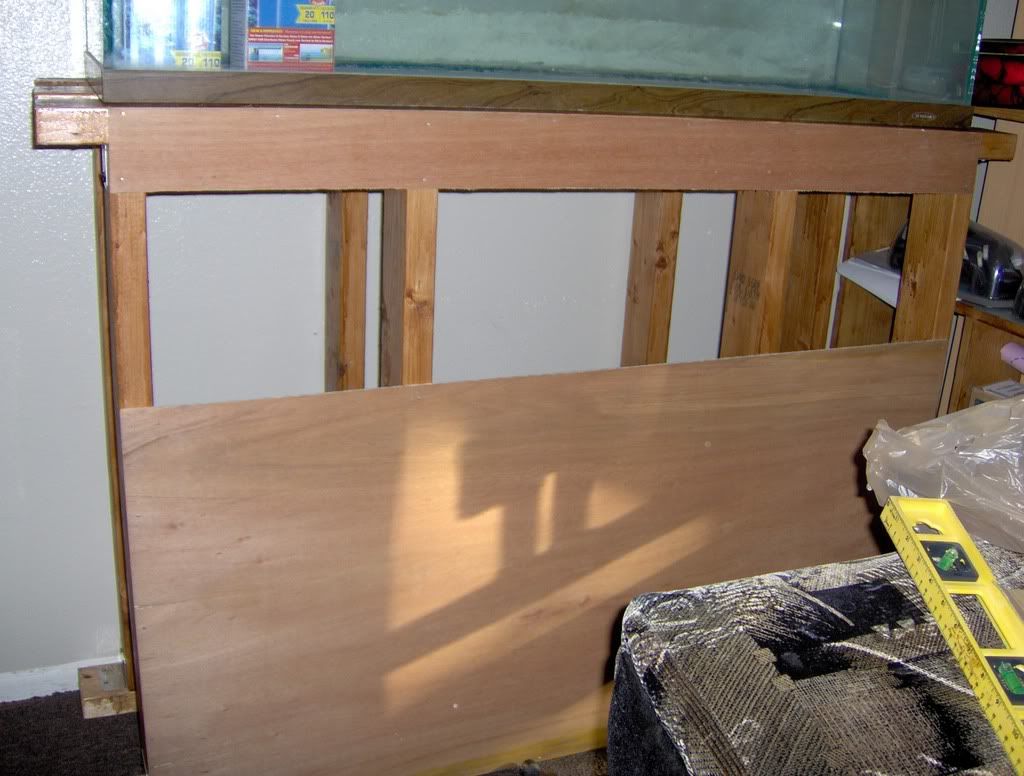
added another 4" piece on the top
and added shelving right on top of it for all my accessories and stuff Ii need for a happy fishkeeping ;)
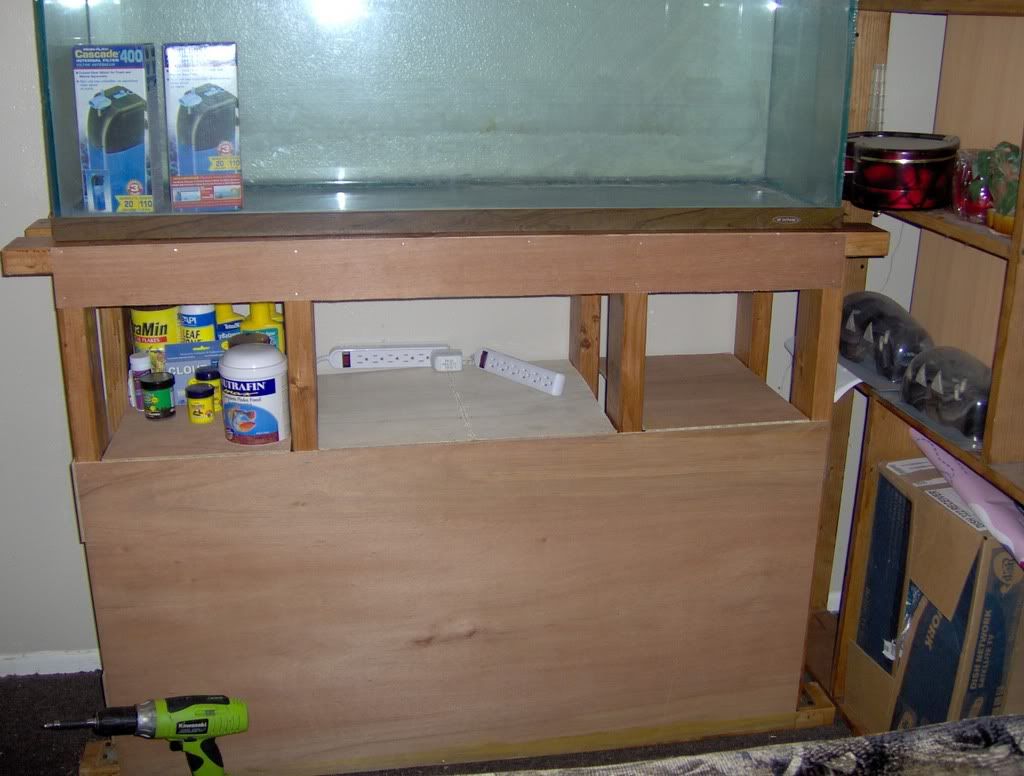
And here is what the final stand looks like with front boards and shelving, and that all for a total of 70 bucks
Try it yourself it's fun
eve
Now you're ready to set up your aquarium!
For Lighting information for your new aquarium (especially if you plan to keep high light needs freshwater plants or a Marine Reef Aquarium):
Aquarium Lighting
For Filters for your aquarium, consider these:
*Hydro Sponge Patented High Bio Capacity Filters
*API SuperClean or Smart HOB Aquarium Power Filters
And for Information about the use of UV Sterilizers for Aquarium Disease Prevention and Redox Balance:
*Aquarium UV Sterilization
Carl, you have a wonderful blog. I'm a lifetime failure with aquariums, but every so often I try again. You've inspired me, I'm going to try again, yet another time. I may pester you with a question from time to time. It will take a while to read all the stuff you have. I also love your many blogs setup, I will click on a few of the links for you. Thanks, R.C.
ReplyDeletethis build WAS fun and i enjoyed every minute of it. The stand turned out great and is really sturdy. thanks for the great idea on how to build a tank stand!
ReplyDelete- William Swain
Charleston, SC
OH wow, i never realized someone would actually really build one too :-O
ReplyDeleteThank you so much for your comment William :-)
Best
eve
Thanks for the walkthru built it and holds my 55 gal aquarium wonderfully!
ReplyDelete